| |
|
|
|
|
|
|
|
|
|
|
| |
|
|
|
|
|
|
||||
| |
|
|
|
|
||||||
| |
||||||||||
|
||||||||||||||||||||||||||||||||||||||||||
IDL> mptssurface, 142000, /project
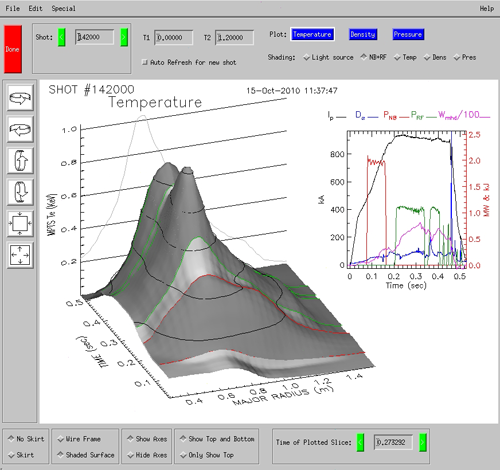
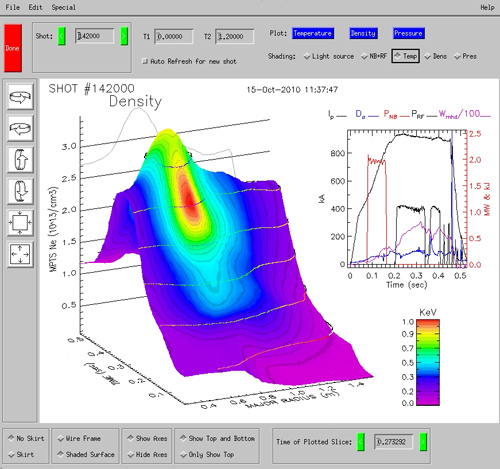 [click image to enlarge]
IDL> f1=findcamfiles('nstx_1_135258.cin')
IDL> f2=findcamfiles('Miro_135258.cin')
IDL> anim2cine, f1, f2, t1=.17, t2=.53, inc=10, mag1=2, mag2=3, $
                region1=[.08,.05,1,1], region2=[.1,.0, 1.0,.9], $
                sig1='\operations::mi_h908_01:input_03*(-1.6)', $
                Units1='mTor', sigLabel1='Antenna Power', $
                sig2='\wf::prf', /QUICKTIME
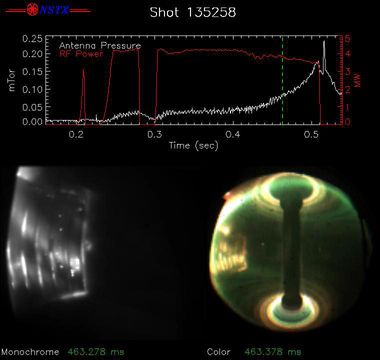 [click image to enlarge]
anim2cine.pro now produces JPEGs from which much higher QuickTime animations may be produced using a java script.
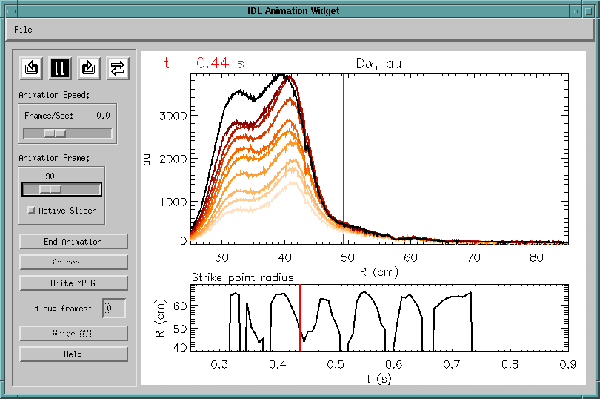
IDL> efitmovies,138000,signame='\EFIT02::RVSOUT',time=[.3,.8], sigTitle='Strike Point'
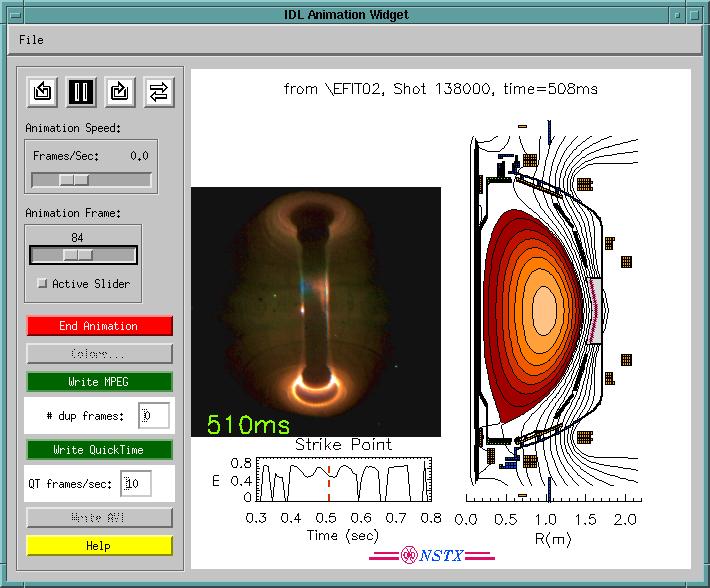
 [click image to enlarge]
See dalphamovie.pro for more info. You can download the MPEG file that was created.
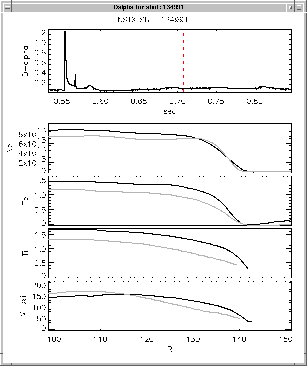
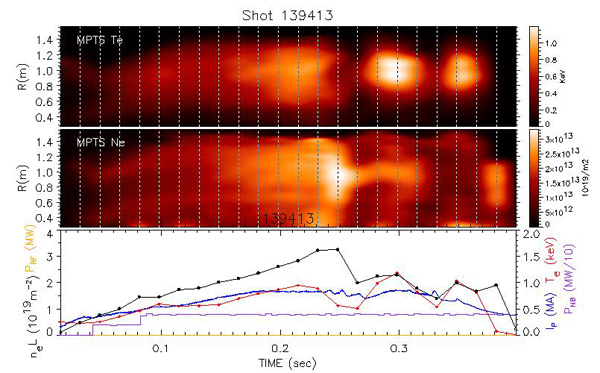
IDL> execonevent, EVENT='MPTS_REFRESH',  $
                  cmd='plot_mpts,shot=0,xmargin=[7,2], /nb, /rf'
or
IDL> execonevent, EVENT='MPTS_REFRESH',  $
                  cmd='plot3_mpts,shot=139413, charsize=1.5'
   IDL> cmd =["PLOT, x, y, xtitle='Sec',  title='plot title'",  $
              "OPLOT, [x[ifr], x[ifr]], !y.crange, line=2, color=colorsearch('red')", $
              "xyouts, .12, 0.92, 'Shot 999999', /norm, charsize=2"]
   IDL> keybrdanim, x, y, plotCmd=cmd
See
keybrdanim.pro for more details.
IDL> xanimjpeg, jpegDir='~bdavis/ShockWaveOutput/Output'See xanimjpeg.pro for more details. You can download the MPEG file that was created.
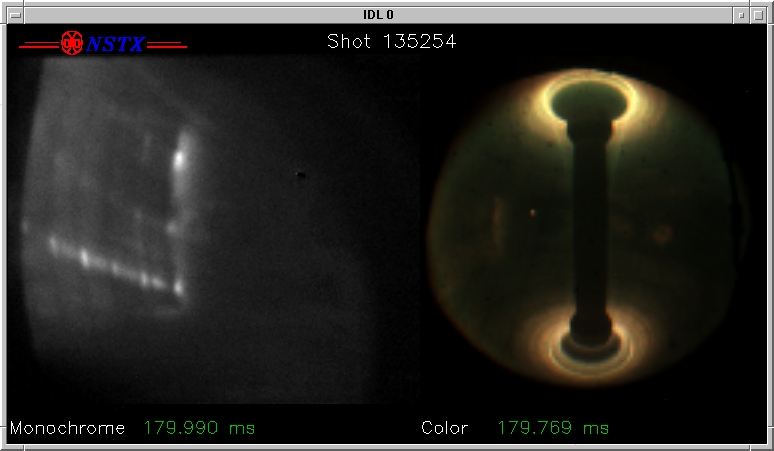
While creating an mpeg movie from two .cin files (from Phantom cameras), you may use different magnifications for different cameras, as well as crop the frames separately. E.g.,
   IDL> f1=findcamfiles('nstx_1_135254.cin')
   IDL> f2=findcamfiles('Miro_135254.cin')
   IDL> anim2cine,f1,f2,t1=.2,t2=.3, inc=10, mag1=2, mag2=3,  $
	       region1=[.08,.05,1,1], region2=[.1,.0, 1.0,.9], $
	       outfile='NSTX2cams_135254_200-300ms.mpg'
See
anim2cine.pro for more details. You can download the
MPEG file that was created.
 [click image to enlarge]
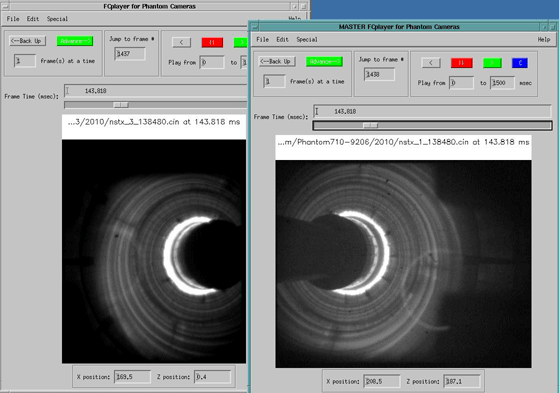
To show two cameras in sync, load one camera and then select "Create a Master Player" from the Special menu. The cameras do not have to be on the same time base (nearest times are displayed). You may also rotate or set the magnification (by setting the "Minimum Window Width" from the Edit menu) of each camera independently.
 [click image to enlarge]
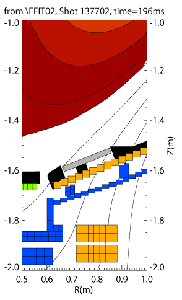
See EfitFlux.html. This can also be done in the EFITviewer, run from the command line on the PPPL Linux Cluster, by dragging the left mouse button. You can Control-click to record R-Z coordinates.
 [click image to enlarge]
See cinethumbnails.html for more information.
IDL> checksig, sig='\cameras::ph7_2_count',  $
               exec='cinethumbnails, "*nstx_2_*'+strtrim(lastshot(),2)+'*.cin"'
IDL> MDSeditBranch, lastshot(), tree='cameras', branch='.FC_1.SETTINGS', $
		    ignore='BACKIMAGE'
See here an example of the widget.
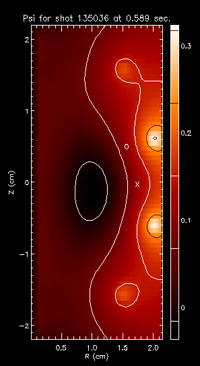
IDL> PsiWant=PsiInterp(135036,.589,Rwant=1.5,Zwant=0.5,/plot,RatZ0=RatZ0)
 [click image to enlarge]
See psiinterp.pro and followcontour.pro for more information.
...with interp2dfit.pro.
sed -i 's@/p/nstxusr1/@$NSTXUSR/@g' *.pro
sed -i 's@/p/nstxusr2/@$NSTXUSR/@g' *.pro
sed -i 's@/p/nstxusr3/@$NSTXUSR/@g' *.pro
The environmental variable $NSTXUSR is defined when you "module load nstx".
Locus was a very popular command-line oriented database tool used on TFTR. For beta testing:
module load nstx
setenv IDL_PATH "$NSTXUSR/util/locus/:${IDL_PATH}"

   >>> if you are using the bash shell, the above line should be:
   export IDL_PATH="$NSTXUSR/util/locus/:${IDL_PATH}"

idl
IDL> locus            ; follow prompts
You can access tables in NSTXLOGS, or other databases hosted by sql2008.pppl.gov, or create your
own tables from MDSplus data using fill_db.pro. Here is an
example of locus output. See the PDF files for the
Locus-filldb Overview,
first, and then read the
Locus User Guide, and the
Filldb User's Guide.
Recent upgrades to Locus now allow it to access other SQL databases (e.g., tables from NSTXLOGS)
without using fill_db, or needing a "parameter-list" file.
(Thanks to Steve Scott, from MIT, for rewriting this application
for Linux).
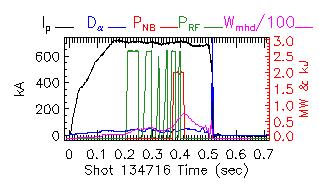
...with widgets for contrast enhancement, better MPEG generation, etc.

findufc 130370
Different cameras can also now be chosen for the display.
You can plot partial pressures of various masses vs. time, or histograms of all masses at particular times, read the x & y values at the cursor position, write data to a file, etc. As of September, 2009, the automatic transfer of data from the PC was not reliable, so send requests for missing data to nstxops@pppl.gov.

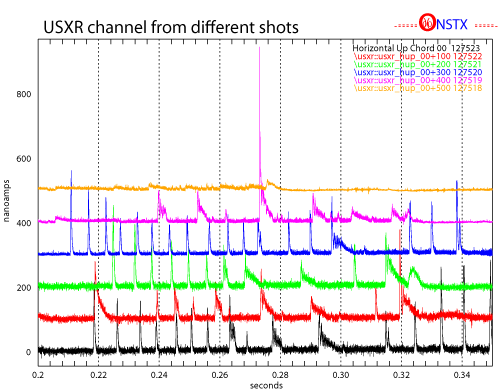
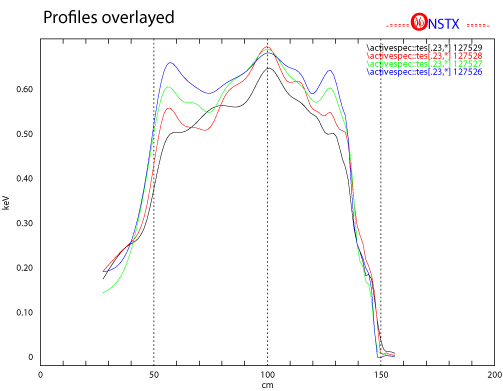
For example, the Physics Operator would typically enter all but the last of the following lines before the shot, and click on the Partial Entry button so it would immediately be visible to others. After the shot the results would be entered, and "Make Entry" clicked (which auto-increments the shot number):
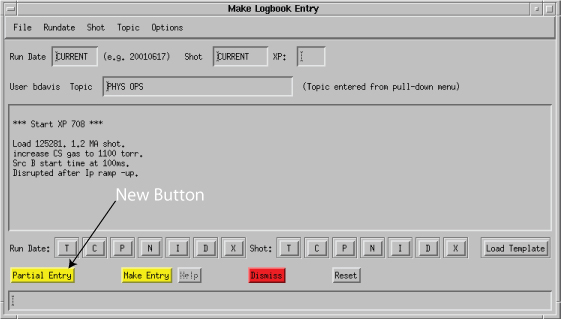
Help has also been added in the "Custom Query" window, which gives tips on searching the Logbook entries.
  IDL> MDSnodeChanges, '\cameras2::FastSoftXray:frames',shot1=124459, $
			  shot2=124460, /after

  Latest changes from shot 124459 to 124460 for the cameras2 tree

     Shot       Date        Time     Node
     ----       ----        ----     ----
    124459 30-MAY-2007  13:17:50  \cameras2::FastSoftXray:frames
    124460 30-MAY-2007  13:32:49  \cameras2::FastSoftXray:frames
See
mdsnodechanges.pro for more details.
Unfortunately, recent additions championed by Jose Boedo have not been merged with this version as of Nov. 2006.
See AVIexample.JPG for an example of the output.
See $NSTXUSR/util/misc/mhd/combw3.pro, or just run combw3 in IDL (it should be in your path if you have done a "module load nstx" or a "module load idl").
See the data
Here's a screen shot.
Here's a screen shot.
Here's a screen shot.
See execOnEvent.pro.
See watchevents.pro.